


⏰Handling time>> Ship within 8-24 hours after payment.
😊Returns>> Fast refund for any dissatisfaction within 30 days, 100% money-back guarantee.
🚢Shipping>> We'll arrange the fastest shipping for you. Free Shipping On Orders Over $29.9.
Reaper Chocolate Chilli Seeds
Experience the intense allure of Reaper Chocolate chilli seeds. These exceptional seeds allow you to grow chili pepper plants that bear a unique variation of the renowned Reaper pepper.

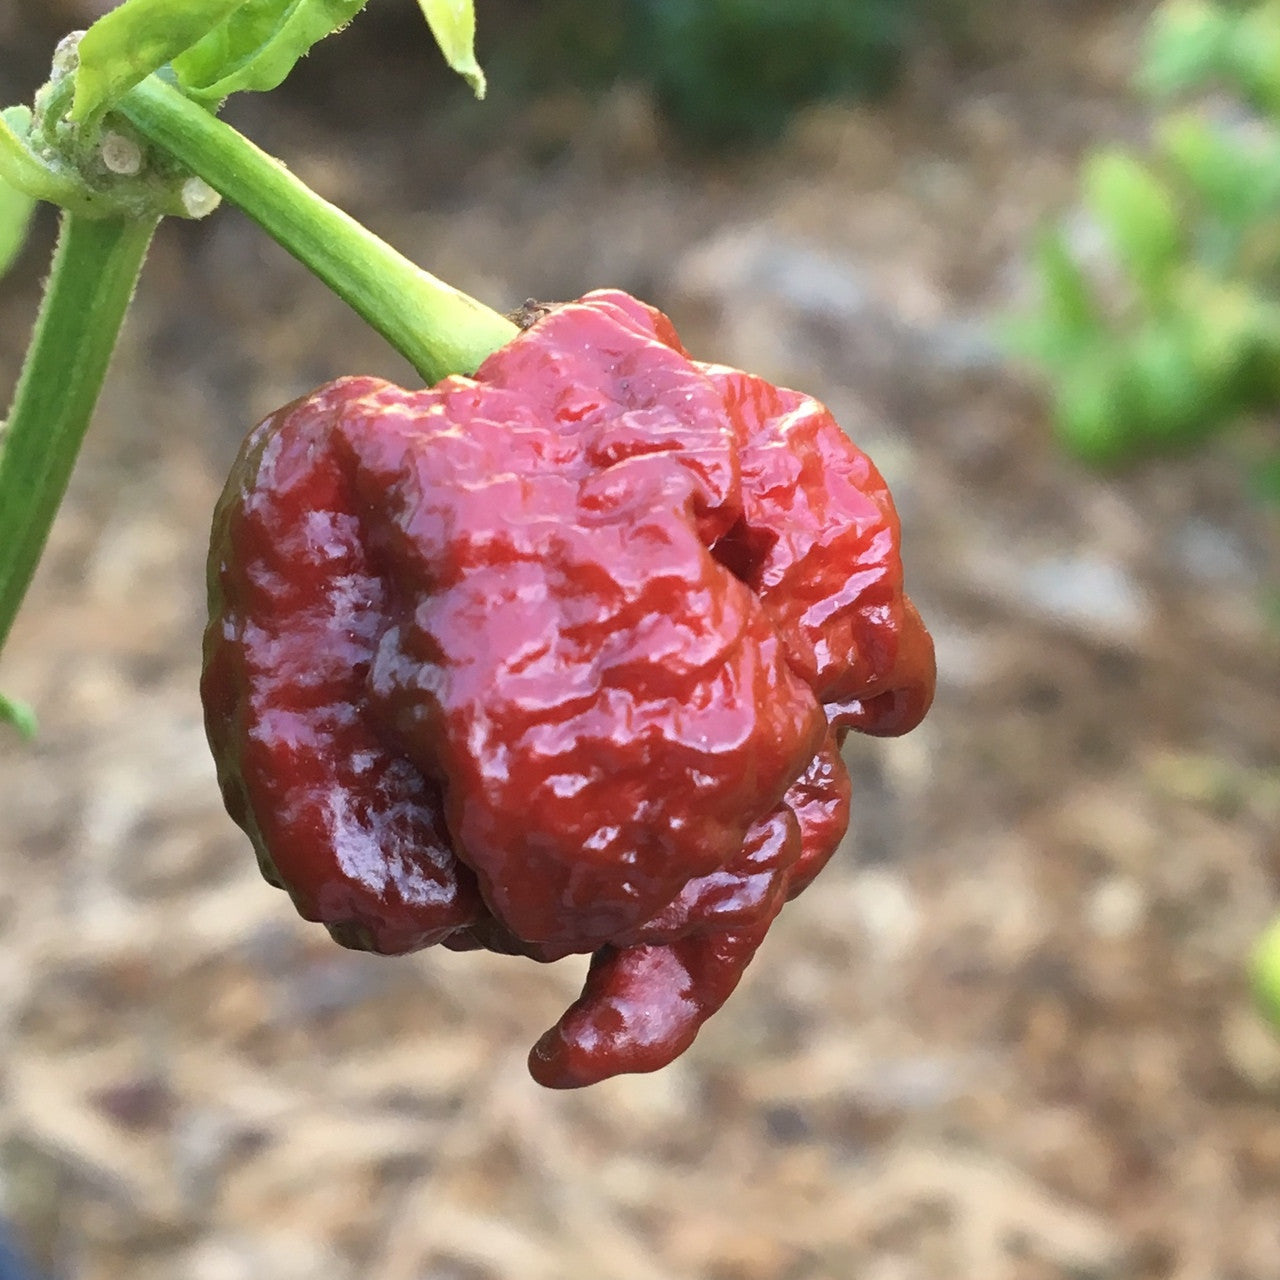
The Reaper Chocolate captivates with its rich, deep brown colour and formidable heat. With a Scoville Heat Unit (SHU) rating surpassing 1,500,000, this pepper variety is recognized as one of the hottest in the world, delivering an intense and unforgettable fiery sensation.

The pods of the Reaper Chocolate start off green and gradually mature into a striking chocolate brown hue. The combination of its dark colour and scorching heat makes it a perfect choice for adding a bold kick to a variety of dishes.
Cultivate these seeds with care and witness the growth of robust plants that yield a plentiful harvest of chocolate-coloured pods. Whether you’re seeking to spice up your favourite recipes or engage in fiery culinary experiments, the Reaper Chocolate is sure to exceed your expectations.
 How To Grow Reapers
While most pepper varieties are fairly easy to grow, the reaper has a few unique requirements. For one, the plants can take up to 5 months to produce ripe peppers after transplanting outdoors.
As a general rule, start your reaper seeds indoors about 8-10 weeks before your last frost date. If you live in a very cold climate (Zones 4 or lower), you may need to start even earlier to provide enough time.
 Follow these steps to germinate reapers:
- Pre-moisten soil. Seed starter mix is a light and fluffy mixture, perfect for young seedlings to form healthy roots. Pour enough seed starter mix into a bowl and slowly add filtered water, mixing as you go. The mix is at the right moisture when it sticks together when squeezed, but doesn’t drip water.
- Fill seed cells. Add the prepared mix to your seed cells, compressing with your fingers. Don’t over-compact, but don’t be too gentle, you should feel some resistance. The soil should be filled to the top of each cell.
- Add 1-2 seeds per cell. Drop 1-2 reaper seeds onto the surface of the soil in each cell. Planting multiple can help ensure at least one of the seeds sprouts (if both sprout, you will pluck the weaker one later).
- Push seeds 1/4″ deep. Using a pencil tip or similar, push each seed about 1/4″ into the soil. Cover the seed with surrounding soil, and pat it down gently.
- Moisten the seed. Using a spray bottle, spritz the soil several times to ensure the seeds are all well moistened. Keeping the seeds wet until they sprout is crucial!
- Cover the seed cells. Using a humidity dome (you can make your own or use something purpose built), cover the planted seed cells. This will prevent too much evaporation from happening, preventing the seeds from drying out.
- Place in a warm spot. reaper seeds germinate best at temperatures between 80-90°F. Since this is much warmer than most homes are kept, we use a seed heating mat beneath our seed trays. Set the mat to around 80°F.
- Fan out trays daily and watch for sprouts. reaper seeds should sprout in 7-10 days, but may take even longer depending on the seed’s age and environmental conditions. Check each day and fan out the trays to provide fresh air.

Tip: Keep the seeds moist by spritzing the soil every 1-2 days. If your seeds dry out, it will halt the germination process.